Did you know that businesses that use assessment software are 36% more likely to be satisfied with their new hire? That’s because pre-hiring tests created with such software can easily give more accurate outcomes than paper-based tests.
If you run a business and are tired of creating, distributing, and grading tests manually, an online test creator software can be an easy solution to your testing woes.
A test creator software will allow you to not only streamline the entire process of creating tests and assessments for different purposes but also let you save hours on your clock.
With no coding skills required to create an online test and an extremely simple user-interface, a test creator software comes bundled with many detailed tutorials that assist you in creating the best online tests and assessments.
An online test maker can take care of many aspects of your business, like:
- Recruitment- Easily create pre-hiring assessments to find the right fit for any role
- Lead Generation- Create quizzes for lead generation
- Employee Productivity- Create training and assessments to measure knowledge gaps and fill them
These are the most common uses of a test creator software for a business that we’ll explore later in this article. But first, let me tell you-
Why Creating Tests on an Online Test Creator Is Better Than Creating Tests Manually?
1- Templates Are the Key to 5-Minutes Test Creation
Imagine you’re on vacation or maybe sick and resting at home, and you get a work call. In no less than 10 minutes, you’ve got to deliver a detailed test for recruitment purposes. What do you do? Of course, you can’t sit down and start from scratch, so instead, you look for test templates. And, honestly, that’s the smartest thing to do.
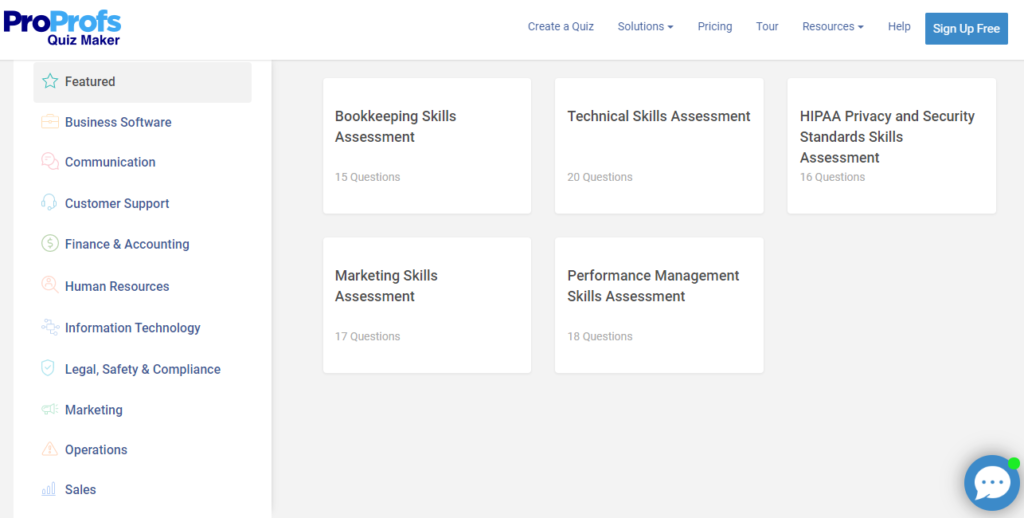
Online test creator software like ProProfs Quiz Maker have more than hundreds of such test templates across various topics to let you create your test in minutes. You can, of course, edit any template according to your requirements, add your logo, add your theme, and more to suit your brand and share it right away.
Takes less than 5 minutes!
2- Question Library Takes Care of Your Biggest Dilemma
Manually creating a test is no small task, and then thinking and adding different types of questions can be even more tedious.
Often, it can leave those creating tests feeling frustrated when they just can’t come up with the right questions.
Using a question library is a simple way to overcome this issue.
Using an online test maker software, you can directly import ready-to-use questions in your tests. How? Just go to the question library, type in your topic, and choose from more than 100,000 ready-to-use questions.
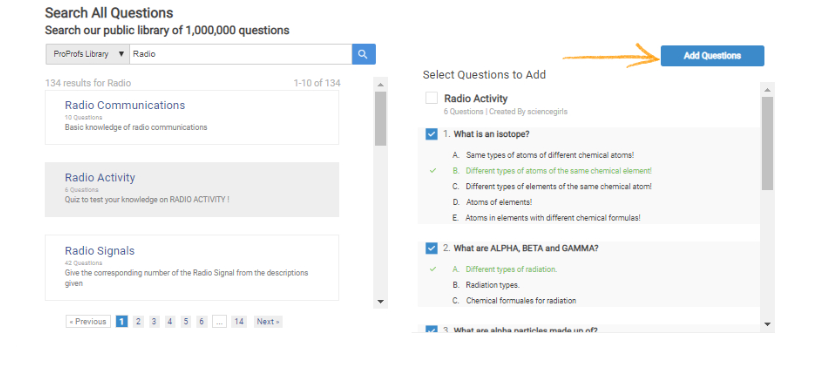
Also, with 10+ different questions types like multiple-choice questions, hotspot, matching, and more, you can spend more time choosing great questions rather than coming up with them.
3. Randomization Is an Advantage of Using Online Test Creator
When you create a test manually, it becomes difficult to randomize the order of questions or shuffle answer options. Even if you are super cautious, it’s only human to sometimes subconsciously group certain questions together while creating tests online.
While it doesn’t sound much of a big deal, it does hold the potential of affecting the outcome of the test. The same set of questions, in the same order in every test paper, can allow test-takers to cheat in the exam.
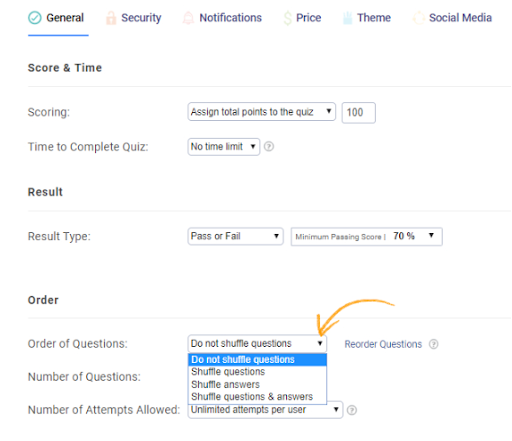
A test generator software with automatic question-randomization features is your ideal solution to make sure you reduce the chances of cheating or any other kind of bias in the test that could alter its response. The same goes for the answers. If the questions are multiple-choice types, then you shuffle the order in which the answer option appears in every test paper.
Simple!
Read More:- How to Make Effective Use of a Test Generator for your Business
4. Security Is Guaranteed
When you create online tests, it is quite obvious that you’ll want data security. But, with an online test creator software, there’s nothing much to worry about.
With more than 100 configurations, you can ensure the safety of your online tests by enabling a few settings. For instance, you can secure your tests with a password to avoid unauthorized access.
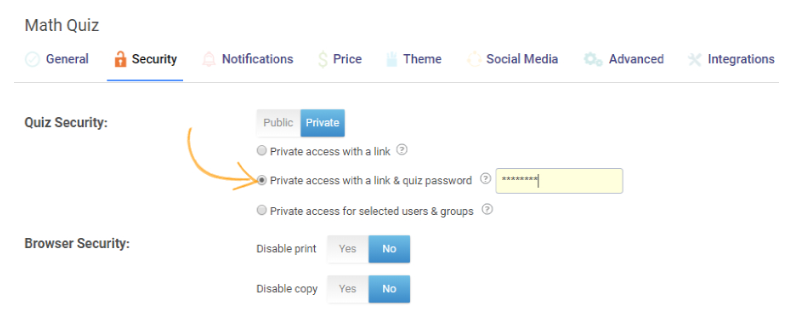
With your test secured and protected by a password, no one apart from the ones you want will be able to access the test you’ve created.
Also, once you’ve published your test, you can make sure only approved test takers can access the test by giving the users a unique set of login credentials.
5. Automated Grading is a Time-Saver
While a test creator software offers a lot of benefits, it saves you a lot of time with its most amazing feature, which is automated grading.
The automated scoring feature allows you to pre-assign grades to the correct answers in advance so that when a question is answered correctly, it gets graded automatically.
You don’t have to grade each question separately, and the final score keeps building up.
Not just this, you can even automate the feedback for each answer. Assign feedback to each question that’ll appear instantly after it is attempted. It could be an explanation for the correct answer.
Now that you’ve learned how to benefit from the various features of an online test creator let’s quickly understand the different ways how it can be used to benefit your business.
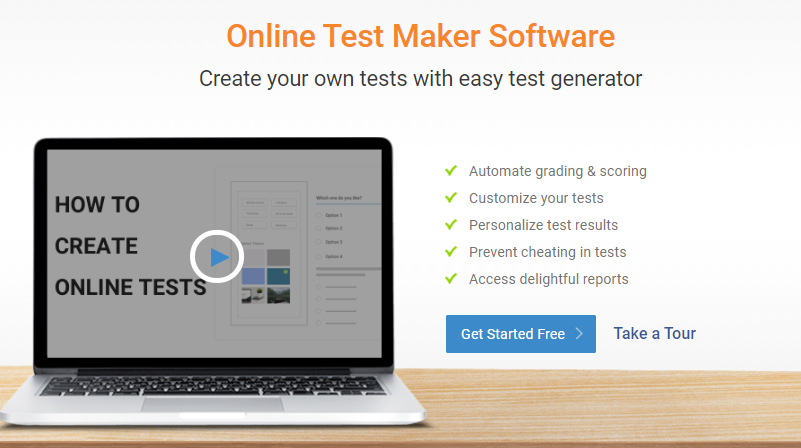
Watch: How to Create Online Tests
Most Popular Uses of an Online Test Creator
1- Create Pre-Hiring Assessments for Recruitment
Pre-hiring assessment is one of the pre-requisites of hiring a new employee. These days, almost every company uses an online test creator to create pre-hiring assessments.
Online assessments created with online test creators are more accurate and reduce recruiters’ work to a great extent as the assessments are automatically-graded.
So, using a test creator software before conducting final rounds of interviews can create a better filter for screening suitable candidates.
Watch: How to Choose the Best Test Generator
2- Create Quizzes for Lead Generation
One of the best ways you can put an online test creator software to work is to create lead generation quizzes for your business.
Quizzes work like a magnet to draw the audience’s attention on social media. People love taking quizzes that tell them something about themselves. You can easily capitalize on this fact and create engaging quizzes with a lead form.
Then integrate your quiz with a marketing automation tool and let your marketing lists build up automatically.

3- Create Assessments to Improve Employee Productivity
Regular training and assessment is a sure shot way to boost your employees’ productivity. It’s always a great idea to assess your employees’ insight, benchmark their work, or merely as a fun activity.
Read More:- Best Typeform Alternatives that You Need to Know About!

So, it’s a good idea to create training and then assess knowledge retention using a test created with an online test creator.
So, Are You Ready to Create Tests in No Time?
Online test creators are an integral asset when used effectively to recruit the right and most productive resources for your business.
Online test creation may sound a bit tedious, but it is actually simple when done with the right test maker.
So if you’re ready to create online tests that are engaging, easy, accurate, and secure, give ProProfs online assessment software a try and see the amazing results it delivers for your business.
FREE. All Features. FOREVER!
Try our Forever FREE account with all premium features!